Showing posts with label Christmas crafts. Show all posts

Wednesday, January 9, 2019

Procrastination

Happy New Year from Maine! I haven't posted for almost two months and I apologize to my few, but loyal, blog friends. I love to write, take photos, decorate, or go on adventures and blog about them and I've missed doing it. I promise to do better in 2019!

Winter has arrived here in coastal Maine but it has been mild so far. This is our street; across from it is beautiful Casco Bay, which leads to the Atlantic Ocean near Portland (the "other" Portland!)

With my stair project done, you'd think I would have taken a break but . . . you'd be wrong. The stairs came out so good sans wall-to-wall carpet that I plowed right ahead and started on the second floor, which houses my craft room, our master suite, and a second-floor laundry.


Which required squeezing every bit of furniture, clothing, and decor into the laundry room and bathroom while we worked on the floors. What a mess!


Here is a "before"picture of our master before the icky old aqua carpet was removed. 


We replaced it with red oak flooring. It was quite a learning process for me as there are so many new flooring products on the market today. I had no idea about the virtues of vinyl planks vs. engineered hardwood vs. laminate and so on.  After lots of research and speaking with helpful professionals,  we chose red oak engineered hardwood to compliment the floors downstairs.


We did have the flooring professionally installed and it looks beautiful. What a change!
 Here it is in my craft room, one side . . . 

And the other.


When  the floors were done, I decided to add some curtains to the craft room. I love how "boho" and unexpected these are, with their mix of colors and textures.


And since I've been reading at my craft table (and I LOVE to read), I treated myself to my very own reading corner in the newly-floored craft room. I had the lamp, bought a little C-table at Home Goods for my books, and ordered the chaise from Wayfair.  FYI: This was my first purchase from Wayfair and I couldn't be more pleased; they sent free fabric samples when I was deciding on the fabric and shipping was free and fast. If you've never seen my craft room, here's a link to a post I did about it. I spend most of my time in this room!


By the time the second floor was back together, it was Thanksgiving. Literally. I love these little bottle-brush turkey place card holders I found at Home Goods. Only $1.99 each. I gave them to my sister as a hostess gift on Thanksgiving Day. Heck, she was doing the cooking this year!


We  had barely finished all the Thanksgiving leftovers when the Christmas season got started. The first two weekends in December are "Christmas Prelude" in Kennebunkport , a great time for Christmas shopping, fireworks, and catching up with old friends.


Speaking of Kennebunkport, I have to acknowledge the passing of President Bush #41. He will be missed by all of us who he considered his neighbors. I am a liberal Democrat but knew him to be an exceptionally honest and caring man. He will be missed.


And then it was Christmas . . . .


I spent all my time making Christmas gifts and not enough of it working on my blog. 
I love this stamp. I had it made at Staples and use it to make my own gift tags, gift bags, gift wrap and Christmas cards on plain brown paper. Simple to wrap or embellish with plain old garden twine.


I found these vintage Bingo cards at an antique shop in North Carolina last March. 


With some cut and paste and a little ribbon, they made tree ornaments, a holiday banner for our fireplace, and Christmas cards for special friends.


I posted Tips for Stenciling Flour Sack Towels in August and, between then and December 25th, completed 46 (OMG!) of them to give as Christmas gifts. I found images I liked on the Internet and cut my own stencils on Mylar using an Exacto knife. 


                    The Kitchenaide mixer stencil took awhile to cut out but it's my favorite.
                                      Whew! No wonder I didn't have time left to blog!


             And then there were the driftwood Christmas trees to finish . . . 

Homemade Maine Christmas folk art with driftwood collected in Searsport, Maine.


But on Christmas morning, all of the preparation was worth it.


After Christmas Day, a walk on Wells Beach was exactly what was needed to center myself again.

For the New Year, I decided to go crazy and cut off all my hair. Really!
Here we are before; halfway before anyway . . . 


And after. 
Short, sassy, and oh so easy!

And, ever the optimist, I rejoined Weight Watchers AND Planet Fitness for 2019. 
Hope springs eternal!

Last weekend, we had a great day outdoors at the farm of our friends Survivor Bob and Peg Crowley in nearby Durham, Maine.  

The occasion was the Crowley's annual "Christmas Tree Burning Party".

So much fun and so nice to be outdoors on a mild winter's day .


Which brings me to today.
I think we're actually caught up.
I promise to be less of a blog-procrastinator in 2019.

Happy New Year!


Sunday, August 5, 2018

Tips for Stenciling Flour Sack Towels

I haven't picked up a stencil brush in about 25 years . . . since about the time that country geese, ceilings covered with dusty baskets, and stenciled walls became overused died.


Recently though, I've been exploring different media for stenciling.


Flour Sack Towels make are a perfect material for stenciling and fit well with today's farmhouse decor.  They're simple, organic, and inexpensive.


My little "craft group" is planning to get together and make some of these soon, but I wanted to try the process first before attempting to teach it to others.


So . . . I've been stenciling like a crazy woman for the past three days . . . and really enjoying it!


I've learned a lot too. I actually read the directions on the back of one of my stencils and tried using fine grit sandpaper under the towel to hold it in place while I stencil . Works so well!


I also learned that the cost of repositional spray adhesive is well worth it. It holds the stencil flat so that no paint "bleeds" into the fabric and leaves absolutely no mark on the fabric when removed.


This is really fun!


I've purchased a few stencils (with 50% off coupons, of course) but have cut most of them myself  after printing templates from the Internet.


I just enlarge or reduce the printable as needed, outline it in Sharpie, place Mylar over it, and cut with an Exacto knife.  That's how this Maine lobster was born!

It's important to use good textile paint (I got mine at Amazon). After stenciling, allow the towels to dry for 24 hours before ironing for 30 seconds on the reverse side to set the colors. Now they are machine washable!


  Old craft, new use. 
I can't wait to stencil more towels to use for for fall and Christmas gifts
I've think I'm getting addicted to stenciling again!


This Post Is Linked To:
Inspire Me Tuesday at A Stroll Through Life
Amaze Me Monday #276 at Dwellings
Happiness Is Homemade #234 at Bluesky at Home
Sundays at Home at Little Farmstead
Amaze Me Monday #277 at Dwellings

Saturday, May 30, 2015

Saturday at the ReStore

Saturday morning.
 Time for errands.
 And a stop at the Habitat for Humanity ReStore.


These old library card catalog drawers were only $5.00 each.
Remember when we actually used them to find books?
They'd make great craft room storage
or display pieces for collections of vintage postcards or Valentines.


Monday, November 17, 2014

Don't Put Those Wine Corks Away Quite Yet!

I decided to try making a few reindeer while I was working on the wine cork Nativity figures over the weekend.


I first saw these on Pinterest at the Homeless Finch blog.

 
I changed them out a bit, using sticks for legs, neck and antlers. These were simple . . . no tutorial needed. The hardest part was making holes in the corks that would allow the sticks to fit snugly. I ended up using my awl and securing them with a dot of hot glue.
 
 
I plan to use these little reindeer on the porch of our log cabin dollhouse when I finish decorating it for Christmas.
 
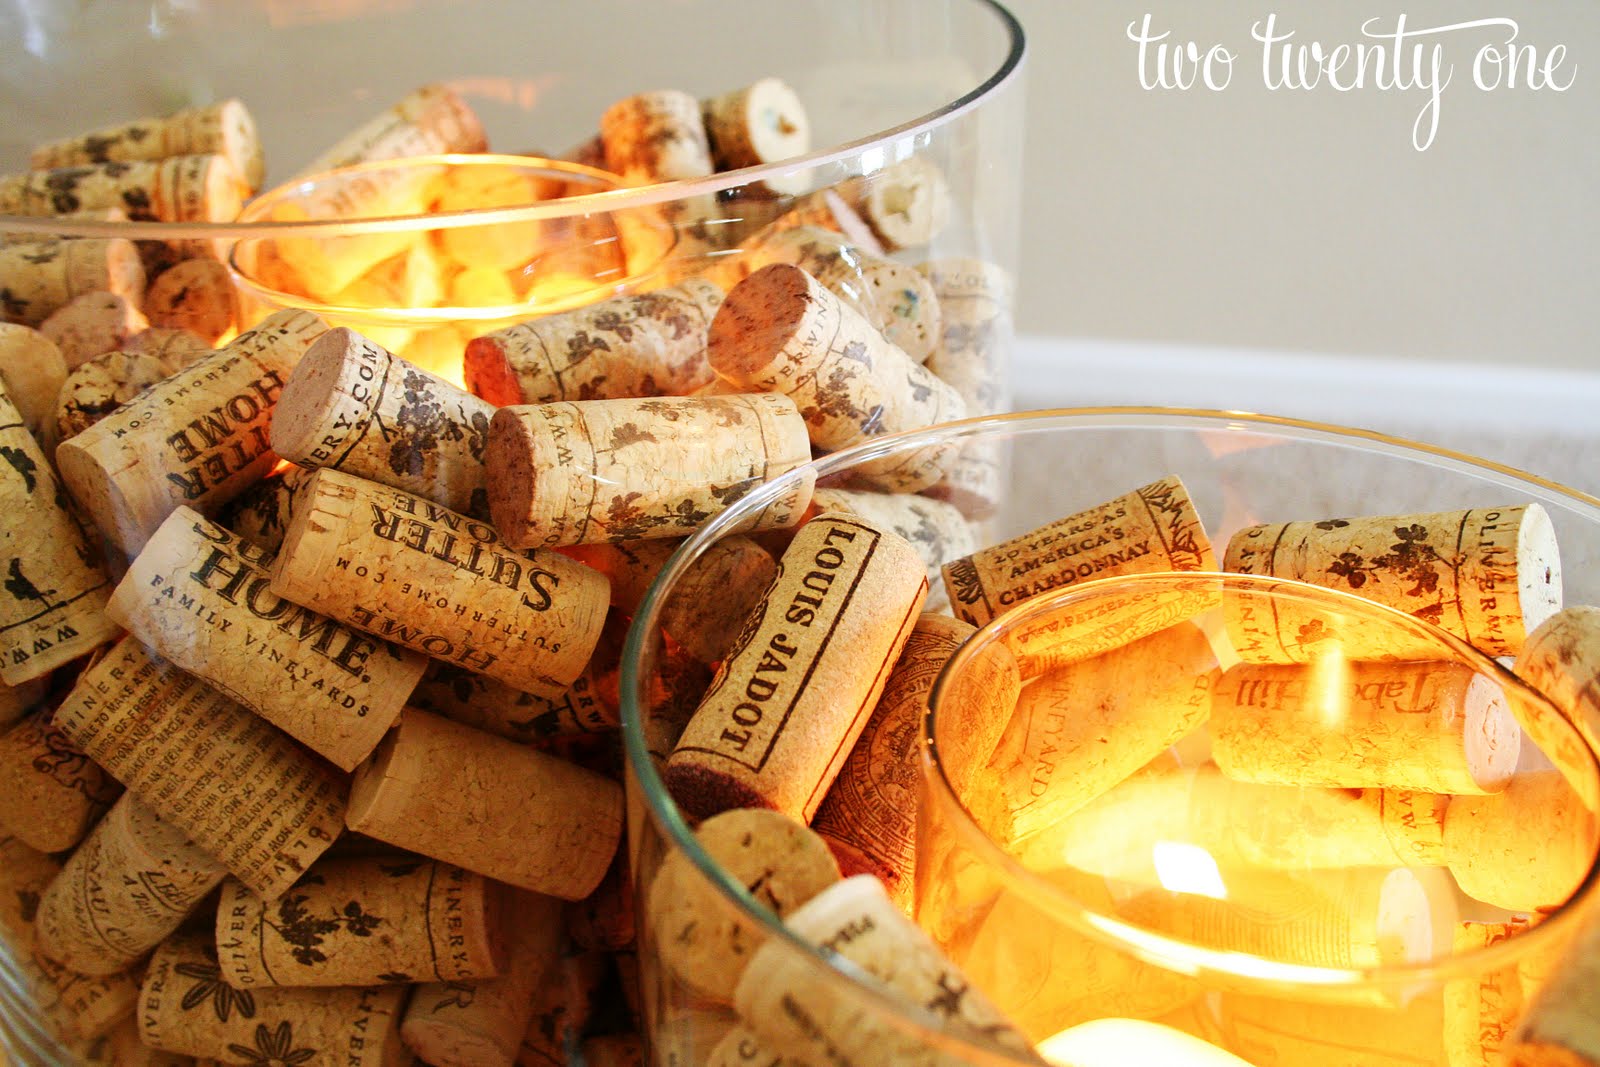
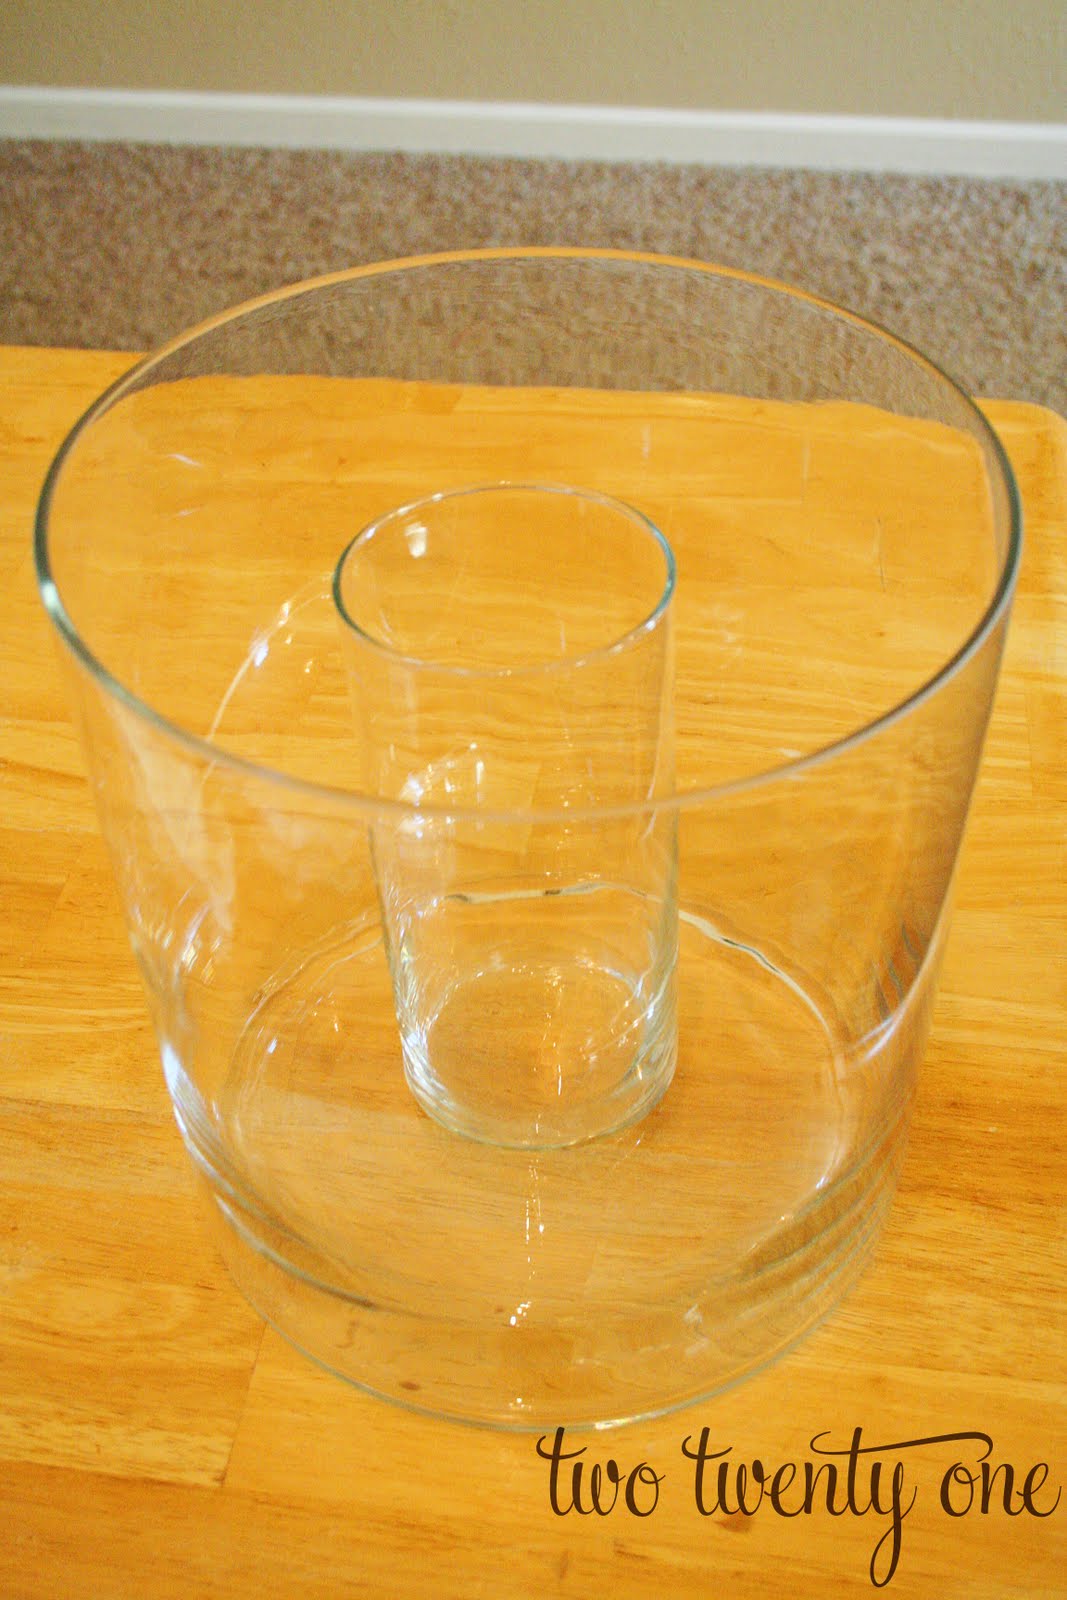
With my remaining corks, I'm going to try this idea from Chelsea at two twenty-one:
 
 
Such a warm accent for the holidays and so simple!


Two more great excuses to drink wine!


This post is linked to:
Make It Monday at Distressed Donna Down Home
Motivate Me Monday at Keeping It Simple
Show & Share at Coastal Charm
Metamorphosis Monday at Between Naps On The Porch

Saturday, November 15, 2014

Wine Cork Nativity Tutorial

I had so much fun making these little nativity sets that I thought I'd share a tutorial.
They would be fun to make with grandchildren or in a Sunday school class.


I plan to give mine as little gifts. (Full disclosure: they're so cute, I'm keeping one set for my mantle.)


Why a wine cork nativity? When our friends Anita and Fred downsized to an RV (lucky them!), I was the recipient of a huge bag of wine corks they had collected over the years . . . lots of years judging by the size of the bag!


So I headed to Pinterest for some "wine cork crafts" ideas and found this photo on an Italian blog called Creamamma. It was love at first sight! I knew I had to make these. The blog is written in Italian but Google Translate took care of that. There was no tutorial so I just used the photo and figured out my own way of making the figures.  


I started by purchasing a couple of inexpensive packages of small wooden doll heads at JoAnn's Crafts These are optional; the blogger in Italy did not use them. She used champagne-type corks with wide tops but I didn't have enough of those.


I made a platform with thumbtacks sticking up between two layers of corrugated cardboard, set my corks out on it, and sprayed them with white primer. You can skip this step for the nativity but I am planning on painting some of my corks for future projects so I just primed them all.


Then I hot-glued the heads on.
(Children could do this with craft glue.)

I played around with a piece of fabric until I came up with a simple pattern for the felt robes. Here is the shape that worked for me. My pattern is approximately 3 inches tall and 4 inches wide.

I hot glued the felt "robe" to the head first, then just folded the two sides over each other in the front and glued the robe shut. (Oh dear, just realized it looks as if Mr. Winecork is flashing us - pretty funny but totally unintended!)
 
To make the baby, I cut a Q-tip into a piece a little over an inch long and wrapped it in a small square of felt - like you would swaddle a real baby. A little glue holds the "blanket" shut in front.

I glued on a little face out of tiny circle of flesh-colored felt and drew on eyes and mouth with a thin Sharpie. The cradle is another cork cut in half lengthwise; a serrated kitchen knife did the job. Another dab of glue holds the baby in the crèche.


Finally, I tied gold cord around each figure - as a belt on Joseph and around the neck or head for Mary.


These are quick to do.
Once I had the materials together, I was able to make four 3-piece sets in an hour.
 

The set I decided to keep is already on the mantle on a piece of fleece "snow" next to the little LED tree I found at Goodwill yesterday.
 

So very simple and sweet.
 
Enjoy!


This post is linked to:
Party Junk at Funky Junk Interiors
So Darn Crafty Party at Sew Many Ways
Show & Tell Saturday at Be Different, Act Normal
Make It Monday at Distressed Donna Down Home
 Link Party Palooza at Tattertots & Jello
Found & Foraged Linky Party at House of Hipsters
Sunday Showcase at Under the Table and Dreaming by SL
Show & Share at Coastal Charm
Metamorphosis Monday at Between Naps On the Porch
Related Posts Plugin for WordPress, Blogger...