Showing posts with label clothespins. Show all posts

Saturday, March 31, 2018

How To Make a Driftwood Mirror

I've been searching for a driftwood mirror for my guestroom.
Something like this.
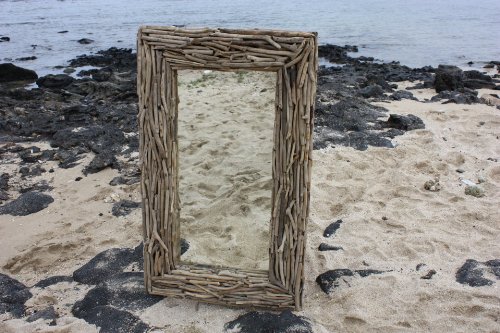

(Ah . . . advertising images. Don't you wish mirrors came out of the sea just like this? We could just walk the beach and collect them, already done!)


The driftwood mirrors I've looked at have been expensive. Pottery Barn has one, but the sale price is $423.00. This one is available at Amazon for $180.00 + $22.00 shipping. Not too bad.  
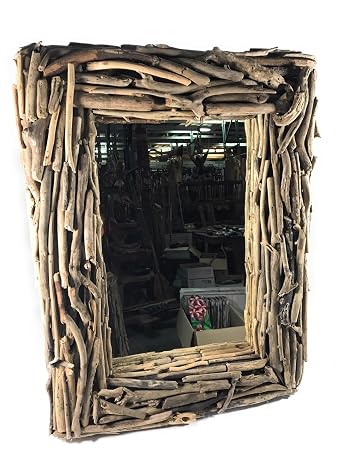
Related image


But I like a bargain. So I decided to make my own.
I'm lucky to live in Maine . . . 


 where it's easy to find driftwood on the beach.


I found a very heavy old mirror at Goodwill for $2.00. The maple frame was scratched but sturdy.


Aside from that, all that is needed is a glue gun.


I did burn my fingers quite a bit completing this project. Since  then, I went online and discovered these for $5.98 on Amazon. I haven't used them yet but have heard from other bloggers that they work, so I'm anxious to try them.

download

I looked for pieces of driftwood with interesting shapes, colors and textures.


And just hot-glued them to the old mirror frame.


That's it!
Total cost:  $2.00 plus a few glue sticks.


I love how the mirror came out!

It would be just as easy to do this project on a round mirror frame if that works better in your room.  Something like this .


If you don't have access to driftwood where you live, you could do a similar project with clothespins.
I love using them for projects with a farmhouse look.


Kirsty's Clothespin wreath, below (click link for tutorial) , could be made around a mirror. She used Washi tape on the clothespins. If they're old ones, I'd might just use them just as they are.

Hambly wreath - Photo 1

 A few years ago, I used my trusty glue gun to make a Button mirror . .  no beach required! This one was a little more time consuming but vintage buttons are fun. They're available everywhere, in shiny metals, unusual shapes and vintage colors. 


So, there you have it.  A simple project you can complete in an afternoon.  Or in an evening with a friend and glass of wine . . .


In which case, if all else fails, you can gather up your corks and make this!


Happy gluing!


This post is linked to:
Salvaged Junk Projects 421 at Funky Junk Interiors
Spring & Easter Blogger Link Party at Common Ground
Farmhouse Friday Link Party at The Painted Hinge
Flaunt It Friday at Chic On a Shoestring
Nifty Thrifty Sunday #328 at Nifty Thrifty Things
Happiness Is Homemade Link Party at The Painted Hinge
Craftastic Link Party at Sew Can Do

Saturday, January 24, 2015

Wash, Dry, Decorate: Laundry Room Update

When we moved to our retirement condo on Applegate Lane, there was a stackable washer and dryer squeezed into a small closet in the first floor bathroom.  You could actually see it from the living room . . . definitely not a good look, even if I tried to pass it off as steampunk!

 
Our house is a 2-story with a gambrel roofline . . .


So we found wasted space under the eaves . . .

and moved the laundry room upstairs next to the master bedroom. 


Here it is!


Under the sloping wall, we added an area for folding clothes with lots of storage underneath, hidden by a fabric "curtain" threaded onto a length of heavy wire secured to the underside of the counter top by small eye hooks.
 

This space is also really handy for wrapping gifts and laying out fabric for sewing projects.


I love some of the photos shared by blogger Miss Kopy Kat in her recent post entitled  How To Transform a Laundry Room.  Her fabric treatment under the counter is similar to mine and also hides a storage area.  Her laundry room even includes a coffee station and wine bar!


If I had wine in my laundry room, DH and I would have the cleanest clothes in town!


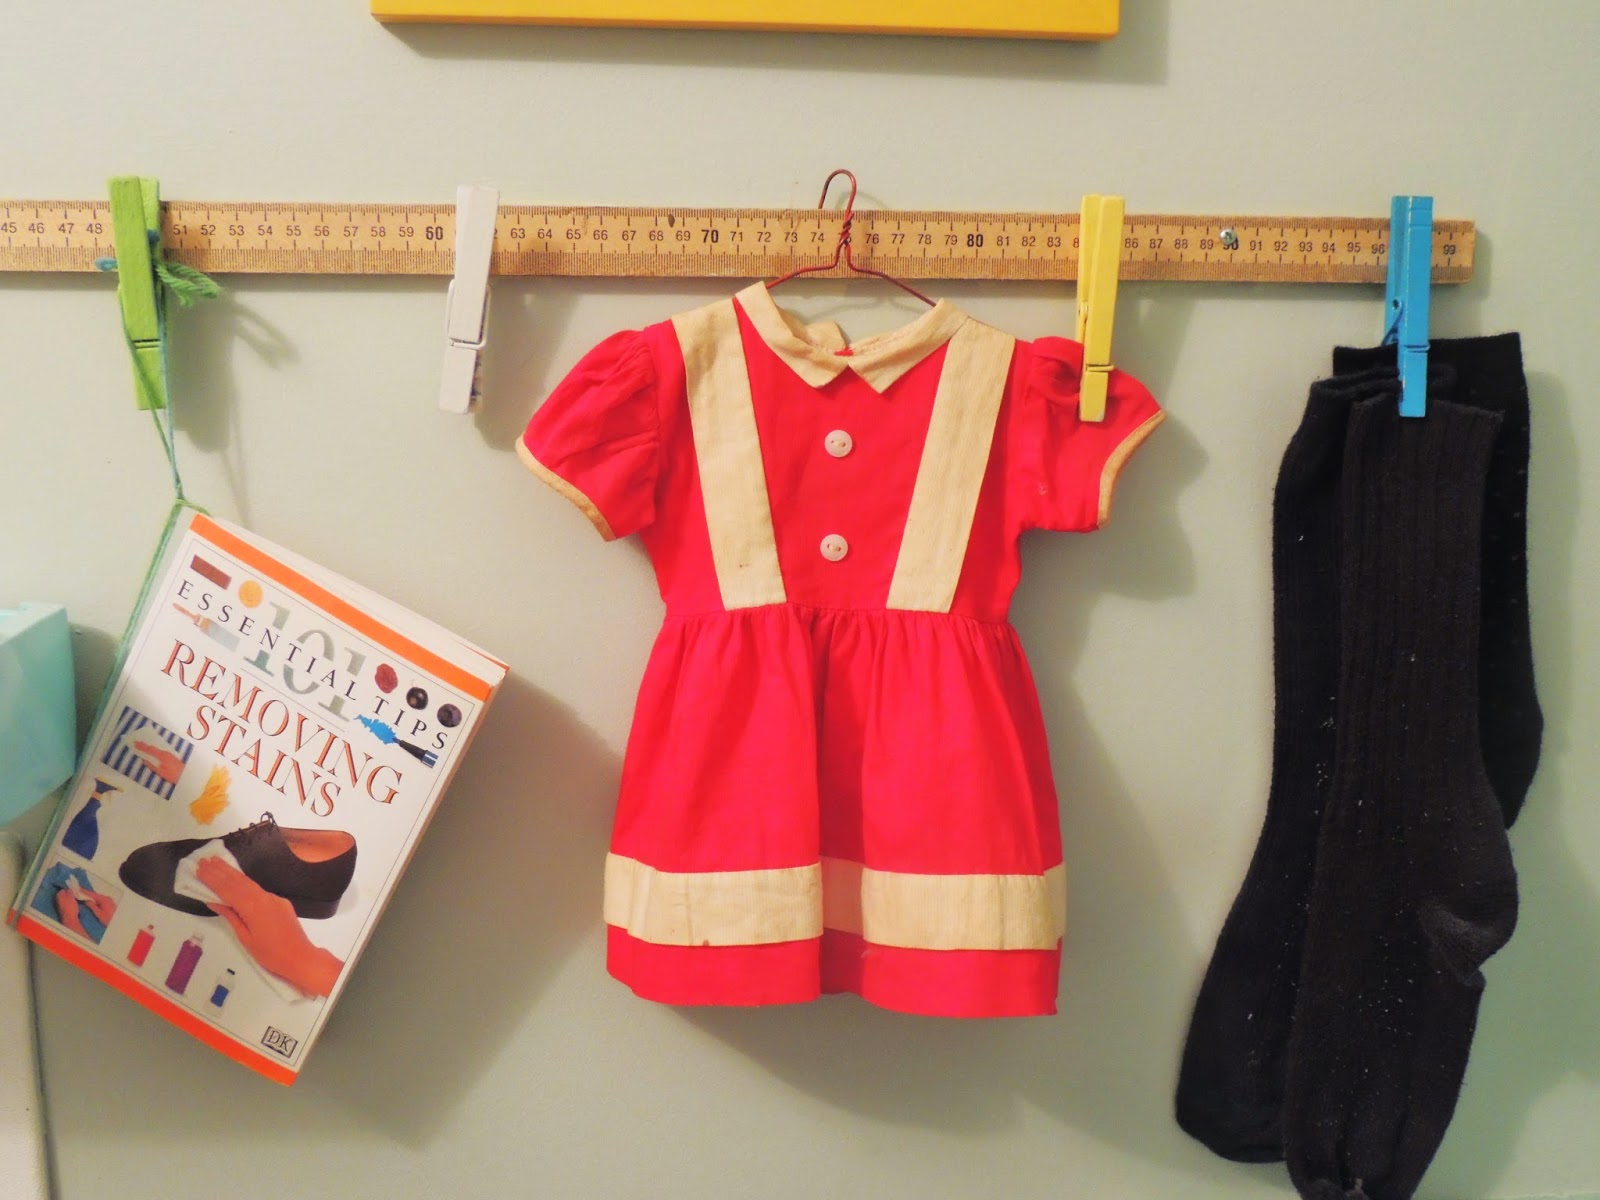
I hot-glued brightly-painted clothespins to a yardstick and mounted it on the wall between my dryer and folding area to hold those mystery socks that always seem to exit the dryer without their mates. The paper towel holder is handy for spills and a framed pattern envelope from the 1950's adds a little color and whimsy.  (How about those hats?)

 
On the opposite wall, I found room to hang a miniature clothesline to display a collection of vintage dolls' clothes.  
 

 An old apple ladder holds an antiques child's dress and an assortment of vintage wooden coat hangers. It's useful as well as decorative . . . I hang newly-ironed clothes on it until I put them away.


And the piece de resistance? A chandelier we rescued from the original porch of our former 1830's home. It's so unexpected in the laundry room that it just makes me smile!

Extra craft storage is hidden on a shelf unit behind the door where I can get to it easily. And there's room to leave the ironing board up all the time for quick touch-ups as clothes come out of the dryer.

 
 This room works perfectly and makes good use of formerly wasted space in our home.
 
Who says doing laundry can't be fun?


This post is linked to:
 Party Junk at Funky Junk Interiors
Show & Tell Friday at My Romantic Home
 

Monday, January 19, 2015

How To Make a Valentine Wreath in 5 Minutes . . . for under $5.00

Here's a very quick project for Valentine's Day  It took me exactly 5 minutes, start to finish, and it's already on my front door.


Here's what you need:
  • a wire wreath form (@ $2.00 at WalMart)
  • a package of craft foam Valentine hearts (mine was $1.00 at the Dollar Store)
  • a package of mini-clothespins ( $1.00 - 1.99 depending on the store; mine were from JoAnn's at 40% off)
That's it!


Simply clip the foam hearts to the wire wreath form and . . .


You're DONE!
 

All that's left to do is run out in the cold and hang the wreath on your front  door.
 
A perfect project: quick, inexpensive, and CUTE!

And think how easy this would be to change out for other holidays:  Foam eggs, here I come!


And here's a bonus:


This 12 inch foam heart wreath was in one of the $1.00 bins near the cash register at JoAnn's. By simply punching a hole in the top and adding a ribbon, it's ready to hang on the back door.

And this one only took 1 minute!


What could be easier than that?


This post is  being shared at:
Show & Share at Coastal Charm
Amaze Me Monday at DWELLINGS
Motivate Me Monday at Keeping It Simple
Metamorphosis Monday at Between Naps On the Porch
Tweak It Tuesday at Cozy Little House
Show & Share at Coastal Charm
Vintage Inspiration Party at Knick of Time
 Wow Me Wednesday Party at Ginger Snap Crafts
Create Link Inspire Party at The Crafty Blog Stalker
Related Posts Plugin for WordPress, Blogger...