Monday, November 17, 2014

Don't Put Those Wine Corks Away Quite Yet!

I decided to try making a few reindeer while I was working on the wine cork Nativity figures over the weekend.


I first saw these on Pinterest at the Homeless Finch blog.

 
I changed them out a bit, using sticks for legs, neck and antlers. These were simple . . . no tutorial needed. The hardest part was making holes in the corks that would allow the sticks to fit snugly. I ended up using my awl and securing them with a dot of hot glue.
 
 
I plan to use these little reindeer on the porch of our log cabin dollhouse when I finish decorating it for Christmas.
 
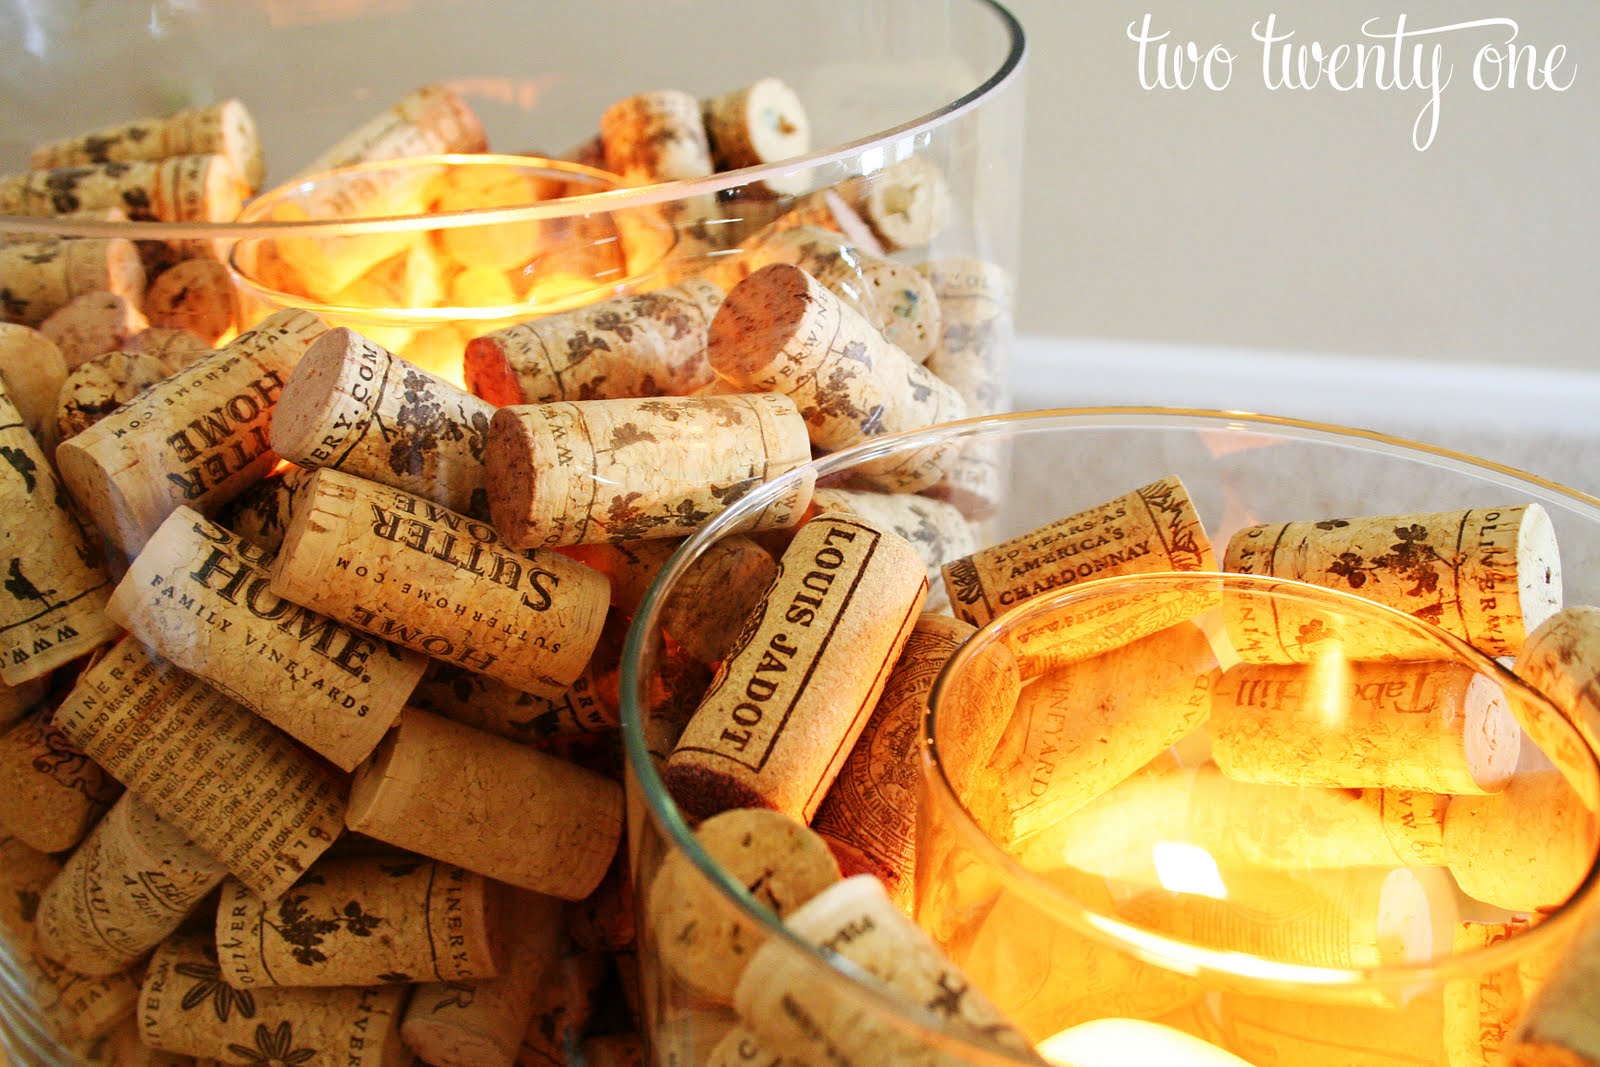
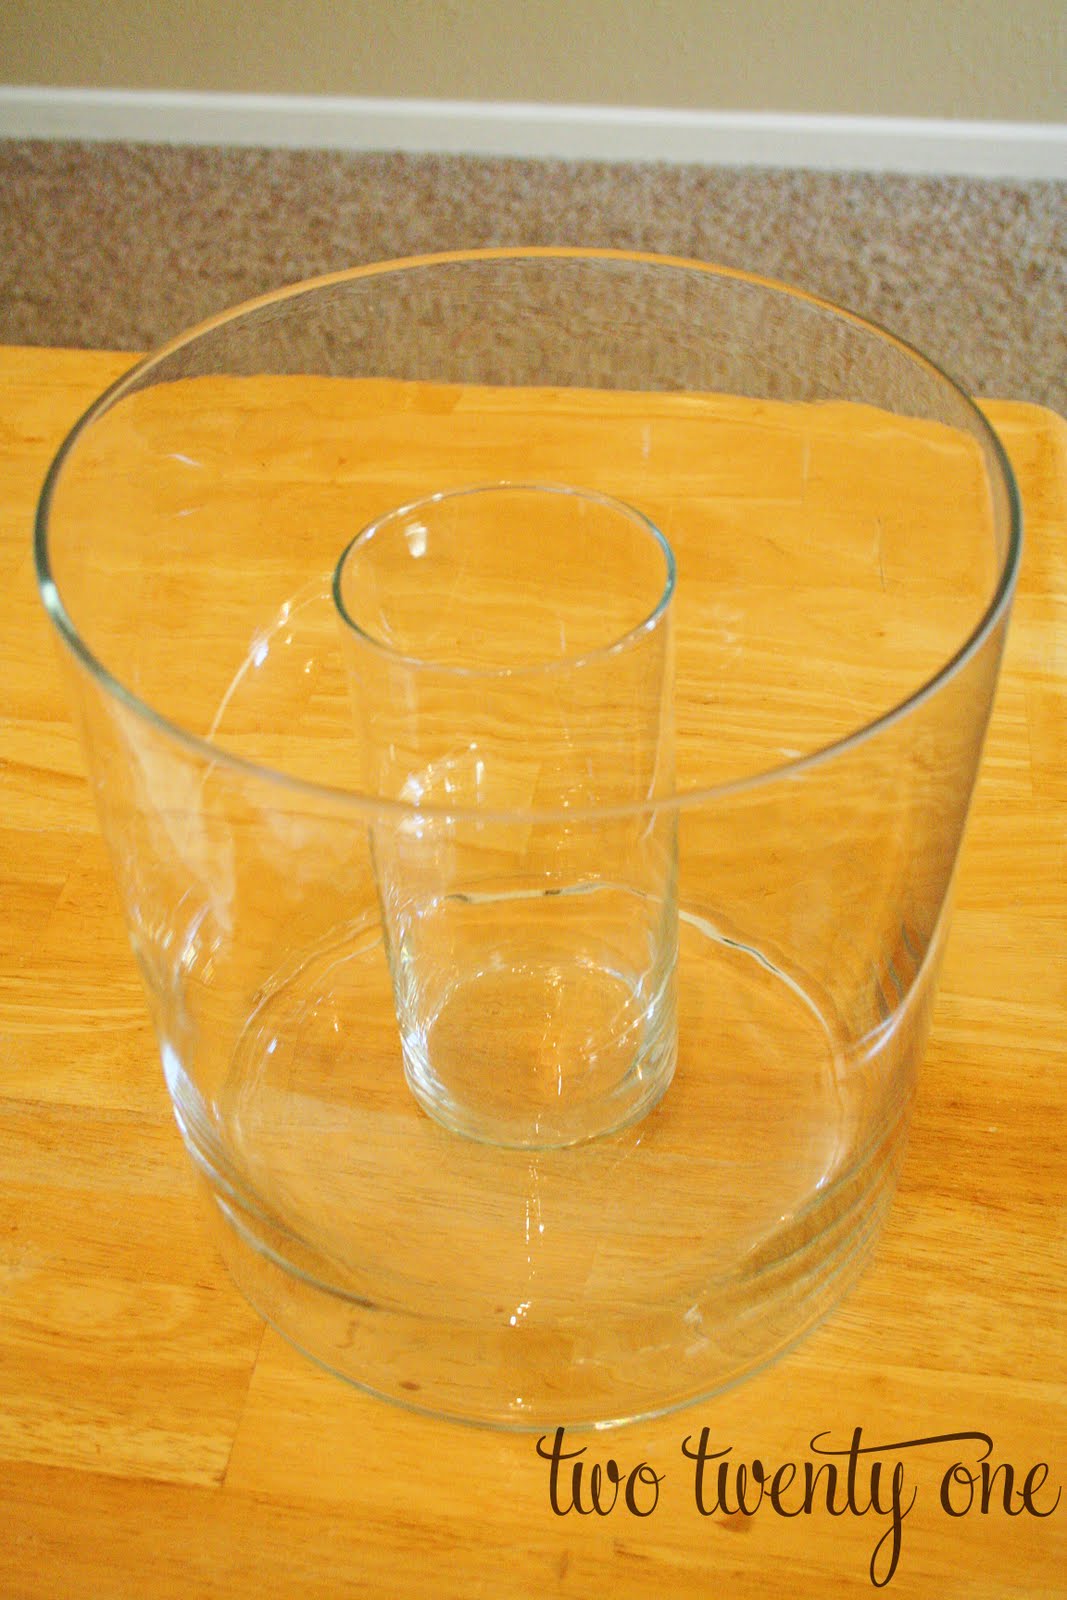
With my remaining corks, I'm going to try this idea from Chelsea at two twenty-one:
 
 
Such a warm accent for the holidays and so simple!


Two more great excuses to drink wine!


This post is linked to:
Make It Monday at Distressed Donna Down Home
Motivate Me Monday at Keeping It Simple
Show & Share at Coastal Charm
Metamorphosis Monday at Between Naps On The Porch

Saturday, November 15, 2014

Wine Cork Nativity Tutorial

I had so much fun making these little nativity sets that I thought I'd share a tutorial.
They would be fun to make with grandchildren or in a Sunday school class.


I plan to give mine as little gifts. (Full disclosure: they're so cute, I'm keeping one set for my mantle.)


Why a wine cork nativity? When our friends Anita and Fred downsized to an RV (lucky them!), I was the recipient of a huge bag of wine corks they had collected over the years . . . lots of years judging by the size of the bag!


So I headed to Pinterest for some "wine cork crafts" ideas and found this photo on an Italian blog called Creamamma. It was love at first sight! I knew I had to make these. The blog is written in Italian but Google Translate took care of that. There was no tutorial so I just used the photo and figured out my own way of making the figures.  


I started by purchasing a couple of inexpensive packages of small wooden doll heads at JoAnn's Crafts These are optional; the blogger in Italy did not use them. She used champagne-type corks with wide tops but I didn't have enough of those.


I made a platform with thumbtacks sticking up between two layers of corrugated cardboard, set my corks out on it, and sprayed them with white primer. You can skip this step for the nativity but I am planning on painting some of my corks for future projects so I just primed them all.


Then I hot-glued the heads on.
(Children could do this with craft glue.)

I played around with a piece of fabric until I came up with a simple pattern for the felt robes. Here is the shape that worked for me. My pattern is approximately 3 inches tall and 4 inches wide.

I hot glued the felt "robe" to the head first, then just folded the two sides over each other in the front and glued the robe shut. (Oh dear, just realized it looks as if Mr. Winecork is flashing us - pretty funny but totally unintended!)
 
To make the baby, I cut a Q-tip into a piece a little over an inch long and wrapped it in a small square of felt - like you would swaddle a real baby. A little glue holds the "blanket" shut in front.

I glued on a little face out of tiny circle of flesh-colored felt and drew on eyes and mouth with a thin Sharpie. The cradle is another cork cut in half lengthwise; a serrated kitchen knife did the job. Another dab of glue holds the baby in the crèche.


Finally, I tied gold cord around each figure - as a belt on Joseph and around the neck or head for Mary.


These are quick to do.
Once I had the materials together, I was able to make four 3-piece sets in an hour.
 

The set I decided to keep is already on the mantle on a piece of fleece "snow" next to the little LED tree I found at Goodwill yesterday.
 

So very simple and sweet.
 
Enjoy!


This post is linked to:
Party Junk at Funky Junk Interiors
So Darn Crafty Party at Sew Many Ways
Show & Tell Saturday at Be Different, Act Normal
Make It Monday at Distressed Donna Down Home
 Link Party Palooza at Tattertots & Jello
Found & Foraged Linky Party at House of Hipsters
Sunday Showcase at Under the Table and Dreaming by SL
Show & Share at Coastal Charm
Metamorphosis Monday at Between Naps On the Porch

Tuesday, November 11, 2014

Happy Veteran's Day, Arthur

For the past few years, I've been in the habit of stopping at our local Dunkin' Donuts for a few minutes of quiet time with my coffee and Portland Press Herald before the start of another busy day. That's where I met Arthur.
 

I'd see him again every Tuesday night at Weight Watchers, which is held at out local American Legion Hall. Arthur would always be there helping out before the meeting and teasing the ladies as we headed to and from the scale.


Arthur's dream was to create a lasting monument to the Veteran's of our little town of Falmouth. When he and his buddies graduated from Falmouth High School, classes of 1944 and 1945, there were only about a hundred students; six of the 100 were lost in WWII.

 
After years of planning and volunteer work years of planning and volunteer work by Arthur and his friends, the monument was dedicated this morning. It was completely paid for by donations from townspeople in honor of our Veterans.
 

It was difficult to photograph clearly, but the back of the monument, the side facing Art's beloved Legion Hall, says, "All Gave Some. Some Gave All."


Arthur passed away last April, before the monument was finished.
But he was honored today and a letter from him - urging the completion of the project - was read at the dedication.


I know Arthur would have been smiling that beautiful smile of his this morning to see the outpouring of support for our Veterans.


Job well done, Arthur.
You can rest now; we've got this.
 
Remembering Arthur, my Dad (Army Air Force, WWII) and all Veterans today,


Monday, November 10, 2014

DIY Felted Christmas Ornaments

Since I took my needle first felting class in September, I've been trying out some new projects. This one is fun and EASY, even if you've never felted before.


It's from the book Artful Christmas, which I love. It contains tutorials for 30 different holiday projects using a variety of techniques and materials.

You can read more about the book at this link.

You only need a few supplies to make the ornaments:
A felting pad
A #38 felting needle . . .


Styrofoam craft balls, whatever size you prefer
Scraps of yarn or wool felt
(the felting multi-needle tool pictured is optional . . . it just makes the project go a little faster) . . .


And wool roving in your choice of colors; I used red, green and white.


The directions suggested wearing leather gloves to protect your hands when in a frenzy of needling. I found them hard to work in and took them off. As always, you just have to keep your eyes on the needle!


To make the ornament: Spread a layer of wool over the styrofoam ball and needle it on until it is felted. For embellishment, needle on swirls of yarn or wool felt designs (I did polka dots). Each ornament took about a half-hour to make,

 
That's it! You can felt yarn hangers onto the ornaments for hanging or leave them off to display the balls in a bowl or basket. 
 
While I was at it, I finally finished felting this little Santa Gnome.
 
Felting friend extraordinaire, Kathleen Gerdes, taught a class on making these a my home last week.
 
We had a great time and proved, once again, that crafting goes better with wine!
 
 
Yours in wool,
 
This post is linked to:
Show & Share at Coastal Charm
Sunday Showcase at Under the Table & Dreaming
Make It Monday at Distressed Donna Down Home
Tweak It Tuesday at Cozy Little House
Wow Us Wednesday at Savvy Southern Style

Sunday, November 2, 2014

In the Pink

It's been a very pink week here on Applegate Lane!
 

I started the week sewing a batch of reversible pink chemo scarves to donate to local cancer charities in my sister Nancy's name . 
 
 
I also purchased a big bag of wool roving at Port Fiber 
and started on my first solo needle felting project . . .
 
 
A pink pig!
 
 
The rest of the week was spent helping a dear neighbor and friend repaint her house. Luckily, DH offered to help and we finished her living room, bedroom, master bath, hall and an accent wall in  the kitchen. It was a big job but the results were worth it!

 
Here's the color we used in the bedroom. It really fits the personality of my friend , a woman who loves fashion, jewelry and bling. It also compliments the hand-made quilt she plans to use on her bed.


We painted all day for most of four days and, by the time we finished each evening, our hands were so covered in pink paint that we could just barely hold our martinis!
 
Now I'm off to visit your blogs and see what I've been missing . . .


Related Posts Plugin for WordPress, Blogger...